
What makes a task genuinely DIY-friendly
Not every maintenance item on a service menu belongs at home. A reasonable DIY task has three qualities: it does not require lifting the vehicle dangerously high, it does not involve systems where an error creates an immediate safety risk (brakes, steering, airbags), and it can be completed with tools a household reasonably owns or can borrow cheaply.
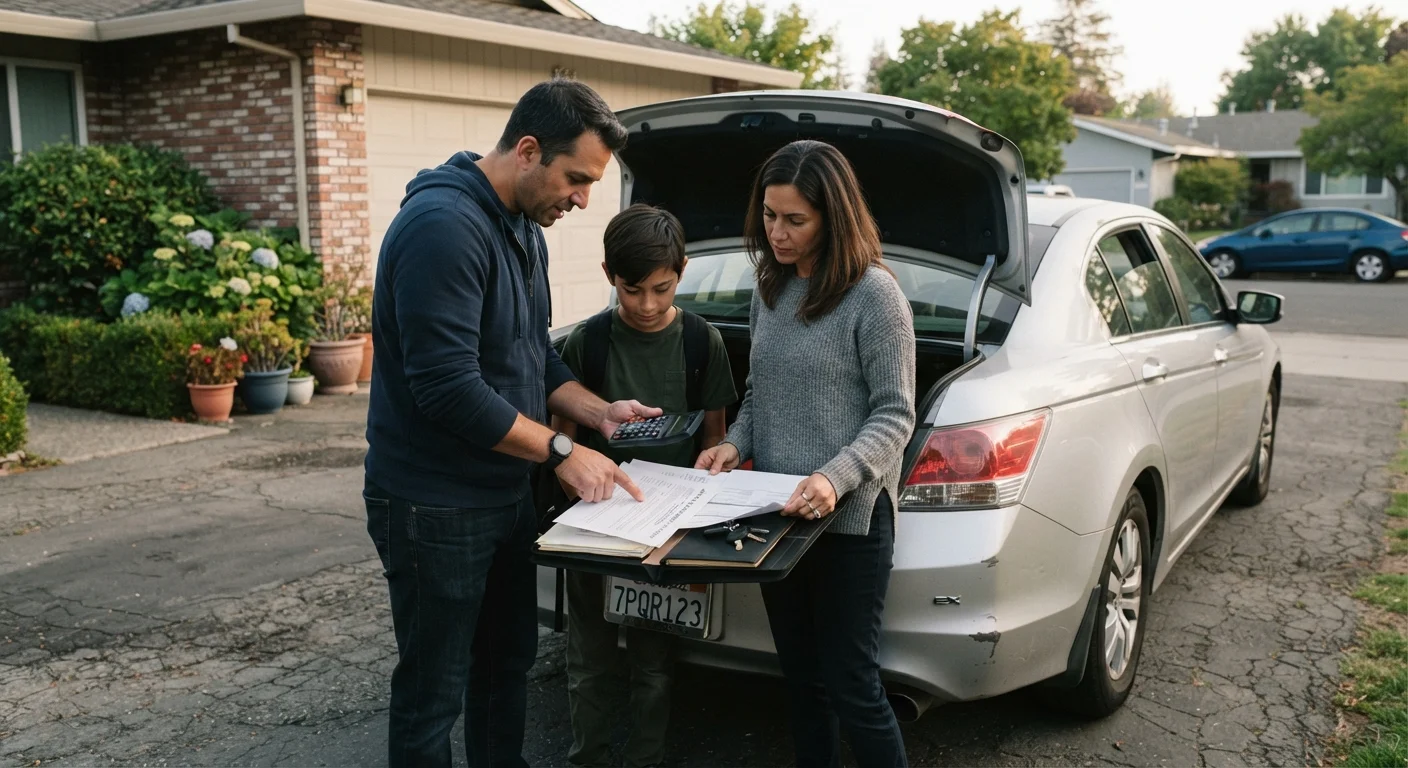
The tasks covered here meet those criteria. They are also the ones shops charge the most labor for relative to actual time spent. Combining home maintenance with a clear picture of total ownership costs helps families budget more accurately. See what families should budget for beyond the sticker price for a fuller breakdown of where car money goes.
What you will need
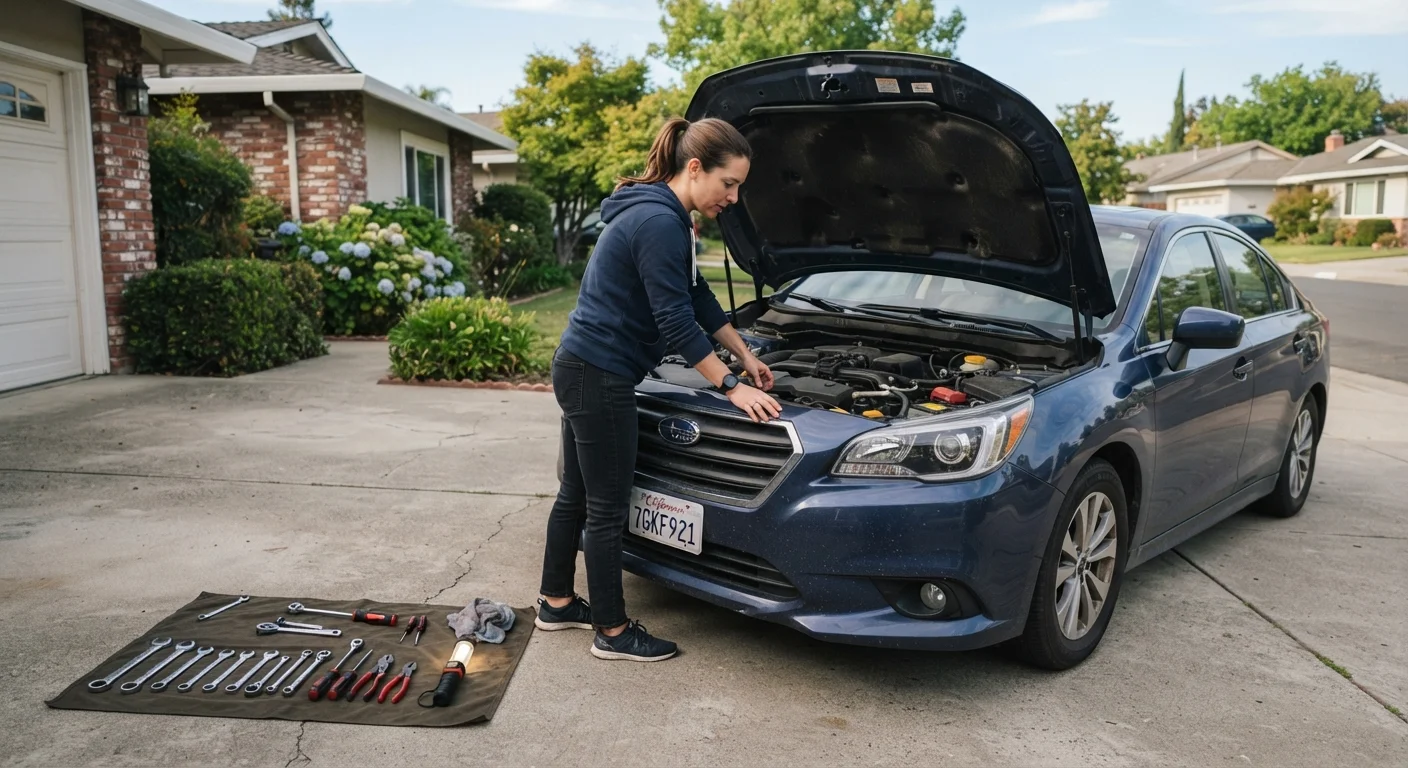
Gather everything before starting. Stopping mid-task to source a part or tool adds time and can leave a vehicle out of service longer than necessary.
Step-by-step: the six tasks worth doing at home
Know when to stop and call a mechanic
DIY maintenance saves money only when done correctly. If a step does not go as expected, a fastener strips, or a fluid looks contaminated in an unusual way, stop and consult a qualified mechanic before continuing. Incorrect brake, steering, or suspension work can create safety hazards. When in doubt, the shop visit is the lower-cost option.
Check and adjust tire pressure
Find the correct pressure on the sticker inside the driver's door jamb, not on the tire sidewall (that number is the tire's maximum, not the vehicle spec). Use a tire pressure gauge when the tires are cold, ideally before driving more than a mile. Add air using a portable compressor or a gas station pump. If a tire consistently loses pressure, have it inspected for a slow leak by a mechanic.
Replace the engine air filter
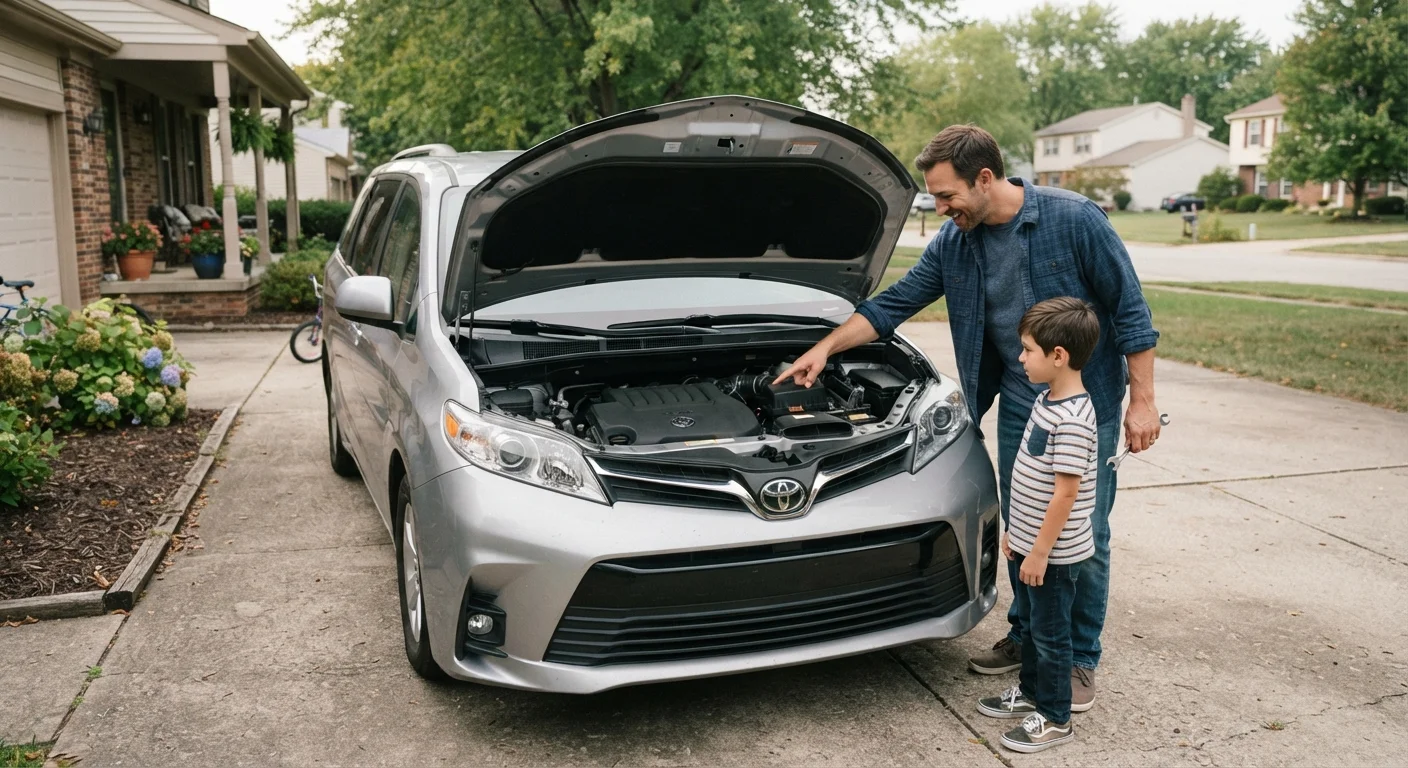
Open the hood and locate the air filter housing, a rectangular or round plastic box connected to the intake. Unclip or unscrew the housing cover. Pull out the old filter and note which direction it was seated. Hold the old filter up to a light: if little light passes through, it is ready to replace. Drop in the new filter with the same orientation and close the housing. Most vehicles use a panel filter that costs roughly $15 to $30 and takes under ten minutes to swap.
Swap wiper blades
Lift the wiper arm away from the windshield until it locks in the upright position. Find the release tab where the blade attaches to the arm, press it, and slide the old blade off. Align the new blade's connector with the arm hook and push until it clicks. Repeat for the passenger side. Many auto parts stores will match the blade to your vehicle by year, make, and model if you are uncertain about sizing. Plan to replace blades roughly once a year or when streaking begins.
Top off fluids
With the engine cold, check the coolant reservoir, brake fluid reservoir, power steering reservoir (if applicable), and windshield washer fluid. Each reservoir has min and max lines molded into the plastic. Use only the fluid type specified in the owner's manual: mixing coolant types or using the wrong brake fluid grade can damage components. Windshield washer fluid is the only reservoir where generic substitution is generally safe. If brake fluid is consistently low, that signals a leak and warrants a mechanic's inspection, not just a top-off.
Rotate tires
Consult the owner's manual for the correct rotation pattern for your drivetrain (front-wheel drive, rear-wheel drive, and all-wheel drive use different patterns). Loosen the lug nuts slightly before jacking up the vehicle. Raise one end at a time using the floor jack at the manufacturer's specified jack point, then secure with jack stands before removing any wheel. Move tires to their new positions, hand-tighten the lug nuts in a star pattern, lower the vehicle, then torque the lug nuts to spec with a torque wrench. Most manufacturers recommend rotation every 5,000 to 7,500 miles.
Replace cabin air filter
The cabin air filter cleans air entering the passenger compartment through the HVAC system. On most vehicles, it sits behind the glove box or under the dashboard. Remove the glove box (usually two clips or screws), slide out the old filter, and note the airflow direction arrow printed on the frame. Insert the new filter with the arrow pointing in the same direction and reinstall the glove box. A clogged cabin filter can reduce HVAC airflow and contribute to interior odors. Replacement intervals are typically every 15,000 to 25,000 miles.
For families with higher-mileage vehicles, these habits connect directly to keeping a car running longer without expensive repairs. Keeping a high-mileage family car running without overspending covers what to watch beyond routine maintenance.
Tasks to leave to a qualified mechanic
Brake pad and rotor replacement, wheel bearing service, timing belt or chain work, and any suspension component replacement should go to a shop. These jobs require precise torque specifications, specialized tools, and the judgment to spot related wear that a first-time DIYer may miss. A mistake on a brake job does not show up until braking force is needed most.
Transmission fluid changes fall in a gray area: some vehicles have accessible drain plugs that make the job straightforward, while others require dropping a pan and adjusting fill levels precisely. Check the owner's manual and be honest about your comfort level before attempting it.
Buy parts before you start
Have the replacement part in hand before disassembling anything. Cross-reference the part number against your owner's manual or the vehicle identification number (VIN) to confirm compatibility. Returning a wrong part after you have already started a job wastes time and can leave the car unusable.
DIY maintenance pairs well with fuel-efficiency habits. Common fuel economy myths cost drivers real money, and a well-maintained vehicle is one fewer variable working against you at the pump.